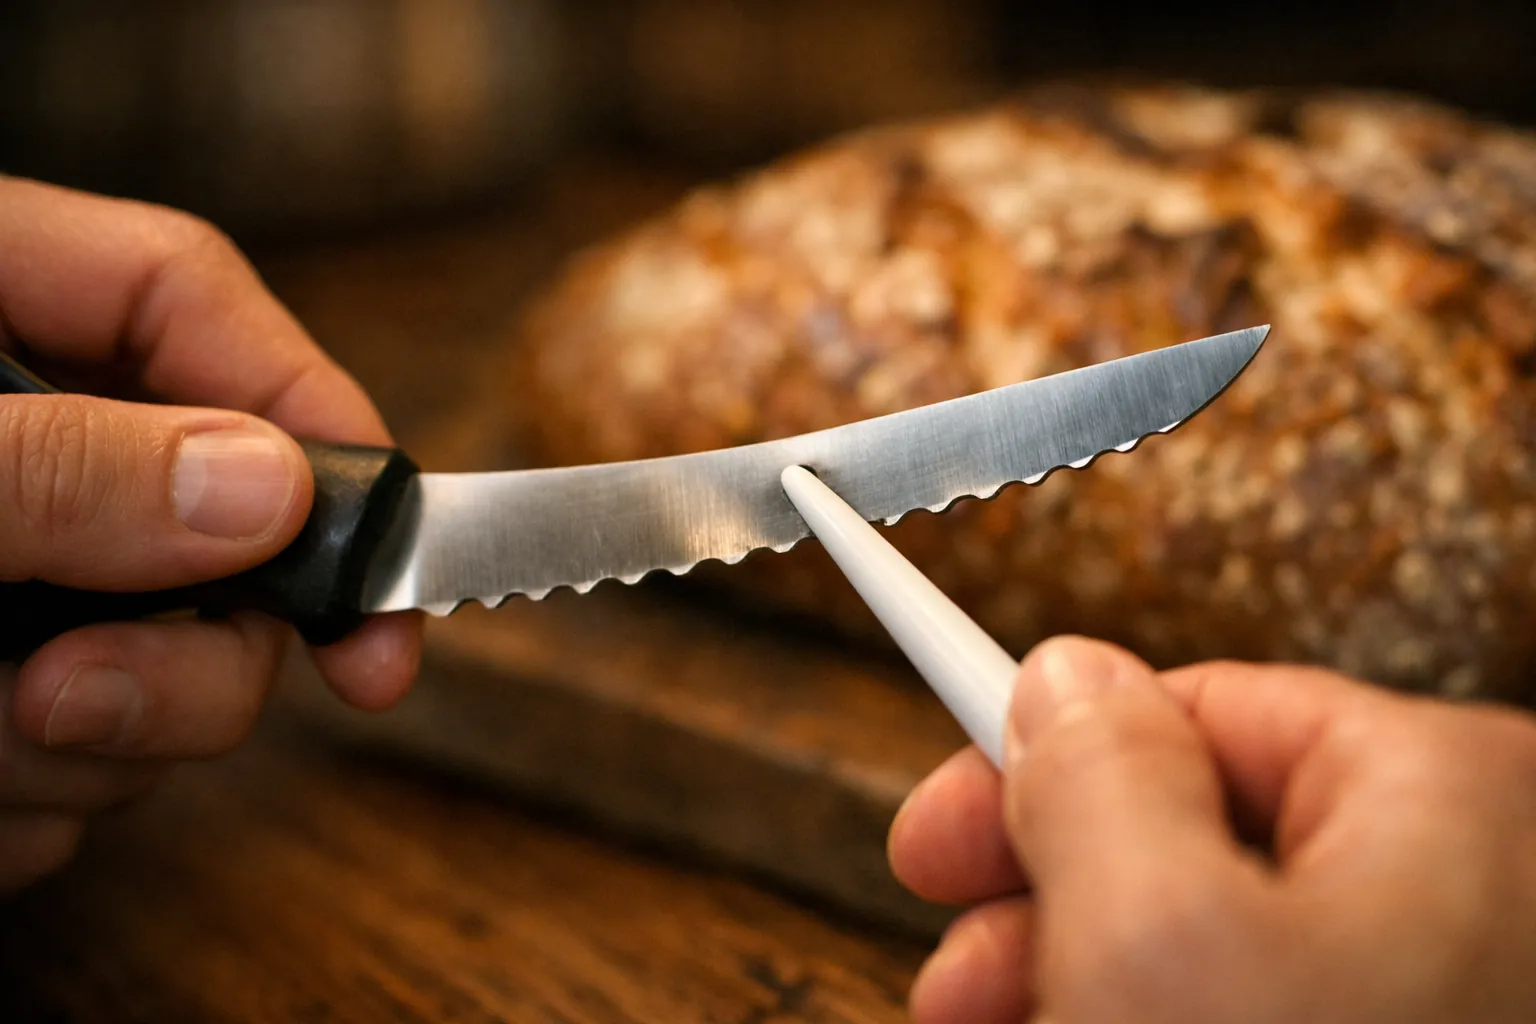
To sharpen a serrated knife, run a tapered sharpening rod through each scallop on the beveled side, matching the existing angle, until you feel a slight burr on the flat side; then remove that burr with a few light passes on the flat side. It takes 10 to 15 minutes for a bread knife. If that sounds fiddly, a Spyderco Sharpmaker or an electric sharpener with a serrated setting is faster.
First, look at the edge
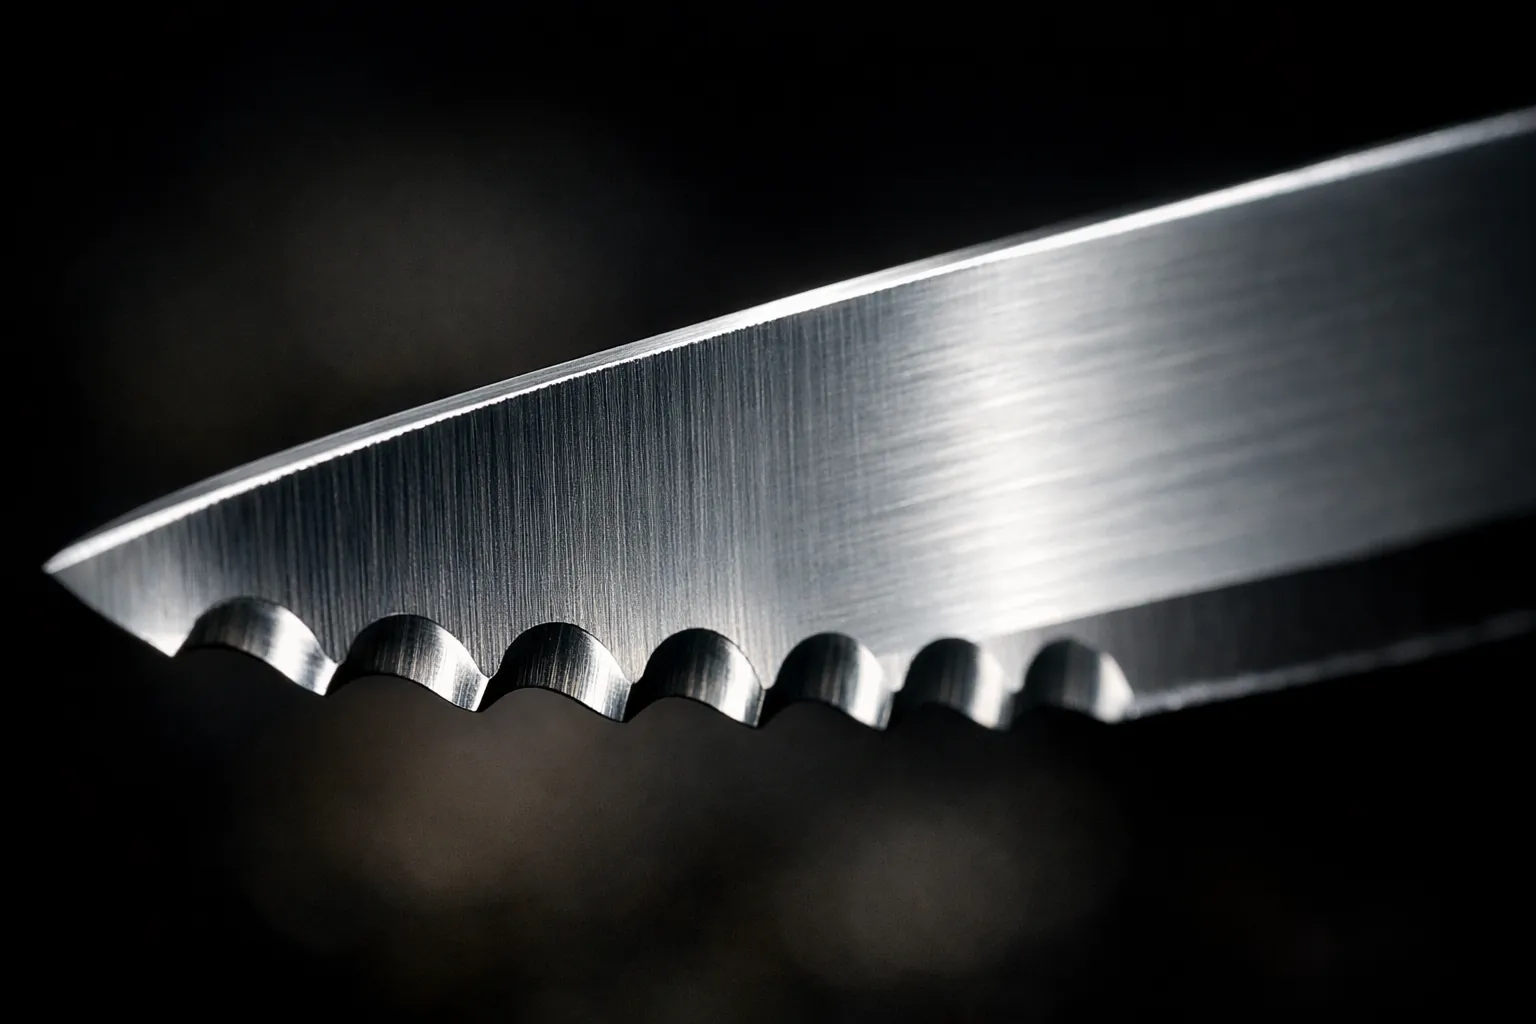
Most serrated kitchen knives are ground on one side: you can see the scallops cut into one face of the blade, while the other face is flat. That beveled side is the one you sharpen.
This how-to reflects standard serrated-knife sharpening technique. Products are described from their Amazon listings, checked October 3, 2026; we haven't run our own tests. How we research.
What you need
- A tapered rod. Ceramic or diamond, narrow at the tip and thicker toward the handle so it fits different scallop sizes. Fine ceramic is gentle; diamond is faster on very dull knives.
- A marker to see where you're removing metal.
- Good light and a stable surface.
Several systems include a serrated tool: the Work Sharp Precision Adjust Elite has a conical ceramic rod for serrations, the Lansky Professional kit includes a serrated medium hone, and the Work Sharp Guided Field Sharpener has a ceramic rod.
Step by step with a tapered rod
- Find the beveled side and color the scallops on that side with a marker.
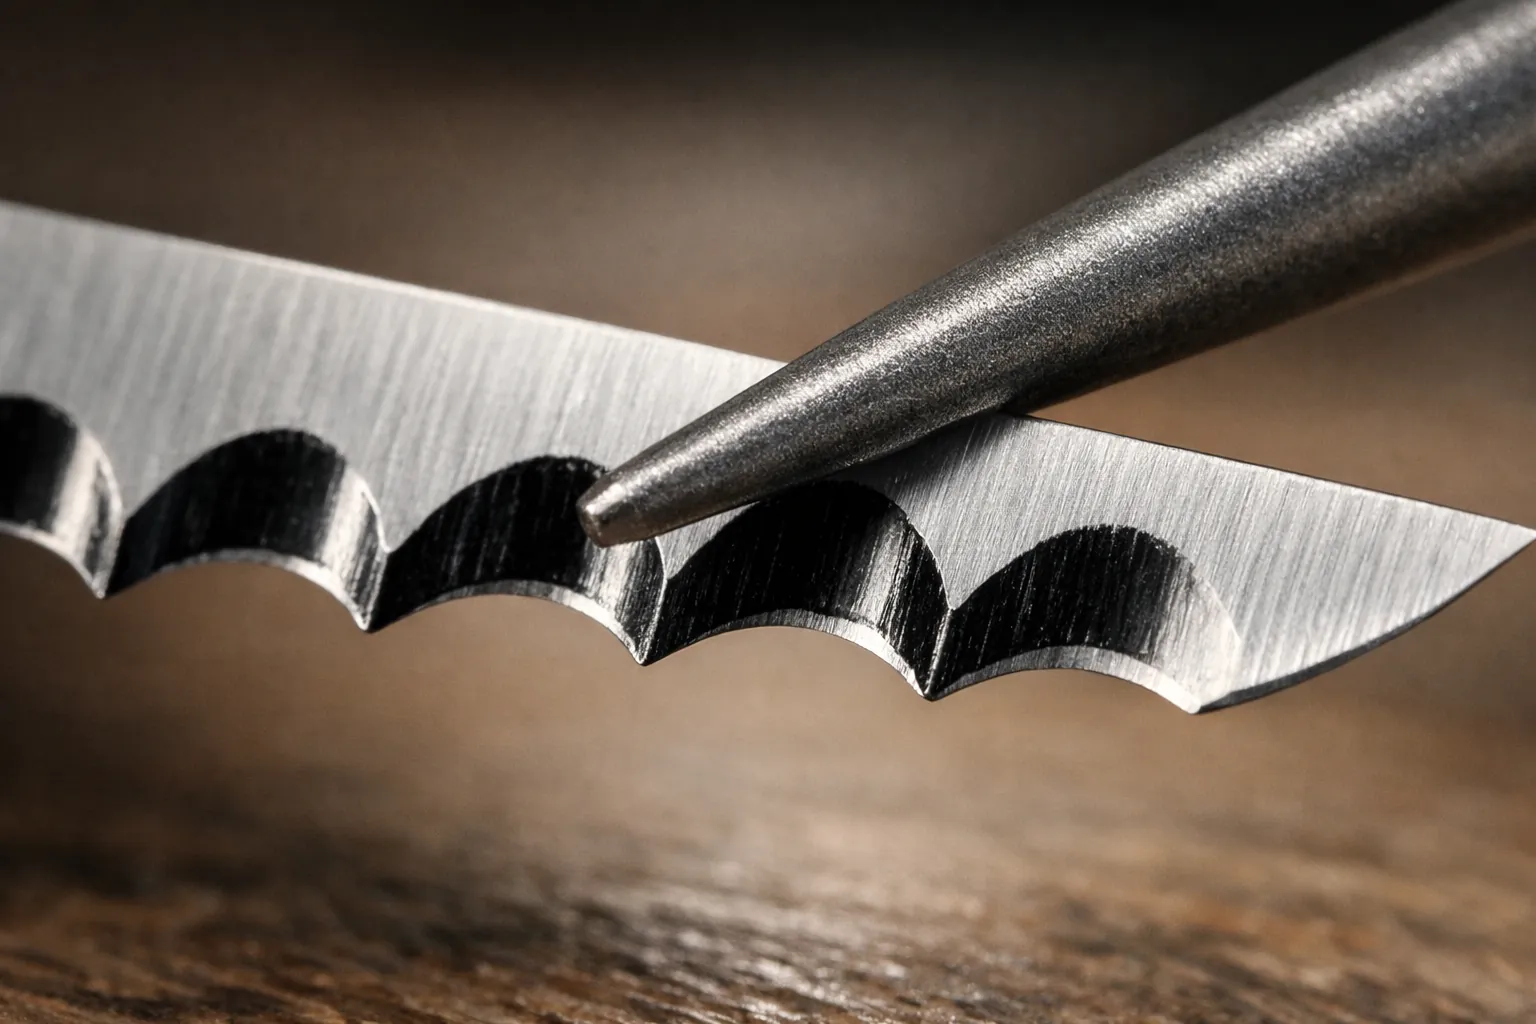
- Match the angle. Lay the rod in the first scallop so it sits flat against the existing bevel. Serrated bevels are often fairly steep; the marker shows when you've matched it. If the knife maker gives an angle, use it.
- Choose the right diameter. Slide the rod in until its thickness fills the scallop. Too thin and you'll only sharpen the center; too thick and you'll widen the scallop.
- Stroke outward. Use short, light strokes from the spine side toward the edge, rotating the rod slightly so it sweeps the full curve. A few strokes per scallop is usually enough.
- Check the marker. When the ink is gone across the scallop's bevel, move to the next one.
- Feel for a burr on the flat side: a slight catch as you draw a fingertip from the flat face across, not along, the edge.
- Remove the burr. Lay the flat side on a fine stone or ceramic rod, completely flat, and make a few very light strokes. Don't create a bevel on the flat side.
- Test on a crusty loaf or a tomato.
The easier way: Spyderco Sharpmaker
The Spyderco Sharpmaker is one of the easiest ways to sharpen serrations. Its triangular ceramic stones have rounded corners that fit into scallops, so you sharpen a serrated knife the same way as a plain edge: hold the blade vertical and draw it down each stone. It works the points and scallops together without sharpening each one individually. More in our Sharpmaker review.
Electric and pull-through options
Some electric and pull-through sharpeners list serrated knives as supported, including the Chef'sChoice 15XV and the KitchenIQ Edge Grip. Typically you use only the fine or finishing stage, since coarse stages can grind the teeth away. These tools mostly sharpen the tips of the teeth, which brings back bite quickly but isn't as thorough as a rod.
Which method to use
| Method | Thoroughness | Time | Best for |
|---|---|---|---|
| Tapered rod, scallop by scallop | Highest | 10–15 min | Good bread knives |
| Spyderco Sharpmaker | High | 5–10 min | Serrated kitchen and pocket knives |
| Guided system serrated rod | High | 10 min | If you already own the system |
| Electric / pull-through fine stage | Moderate (tips) | 1–2 min | Inexpensive steak and bread knives |
Times are typical ranges, not measurements.
Serrated and partly serrated pocket knives
Many folding knives have a partly serrated edge: a plain section near the tip and serrations near the handle. Sharpen the plain section as usual on your stone or guided system, then do the serrated section with a tapered rod or the Sharpmaker's corners. Pocket-knife serrations are often smaller and tighter than a bread knife's, so use the thin end of the rod. Our pocket knife sharpener guide covers tools that handle both.
Without a sharpener
In a pinch, you can wrap fine wet-and-dry sandpaper (around 600 grit or finer) around a pencil or dowel that fits the scallops and use it like a tapered rod, following the same steps. The unglazed ring on the bottom of a ceramic mug is another improvised hone for the points and the flat side. Neither is as controlled as a proper rod, but both will bring back some bite until you can sharpen properly.
Mistakes to avoid
- Sharpening the flat side like a straight edge. That creates a second bevel and weakens the teeth. Only deburr it, flat.
- Using a flat whetstone on the scallops. It only grinds the points down.
- Using a coarse pull-through slot. It can grind the teeth off.
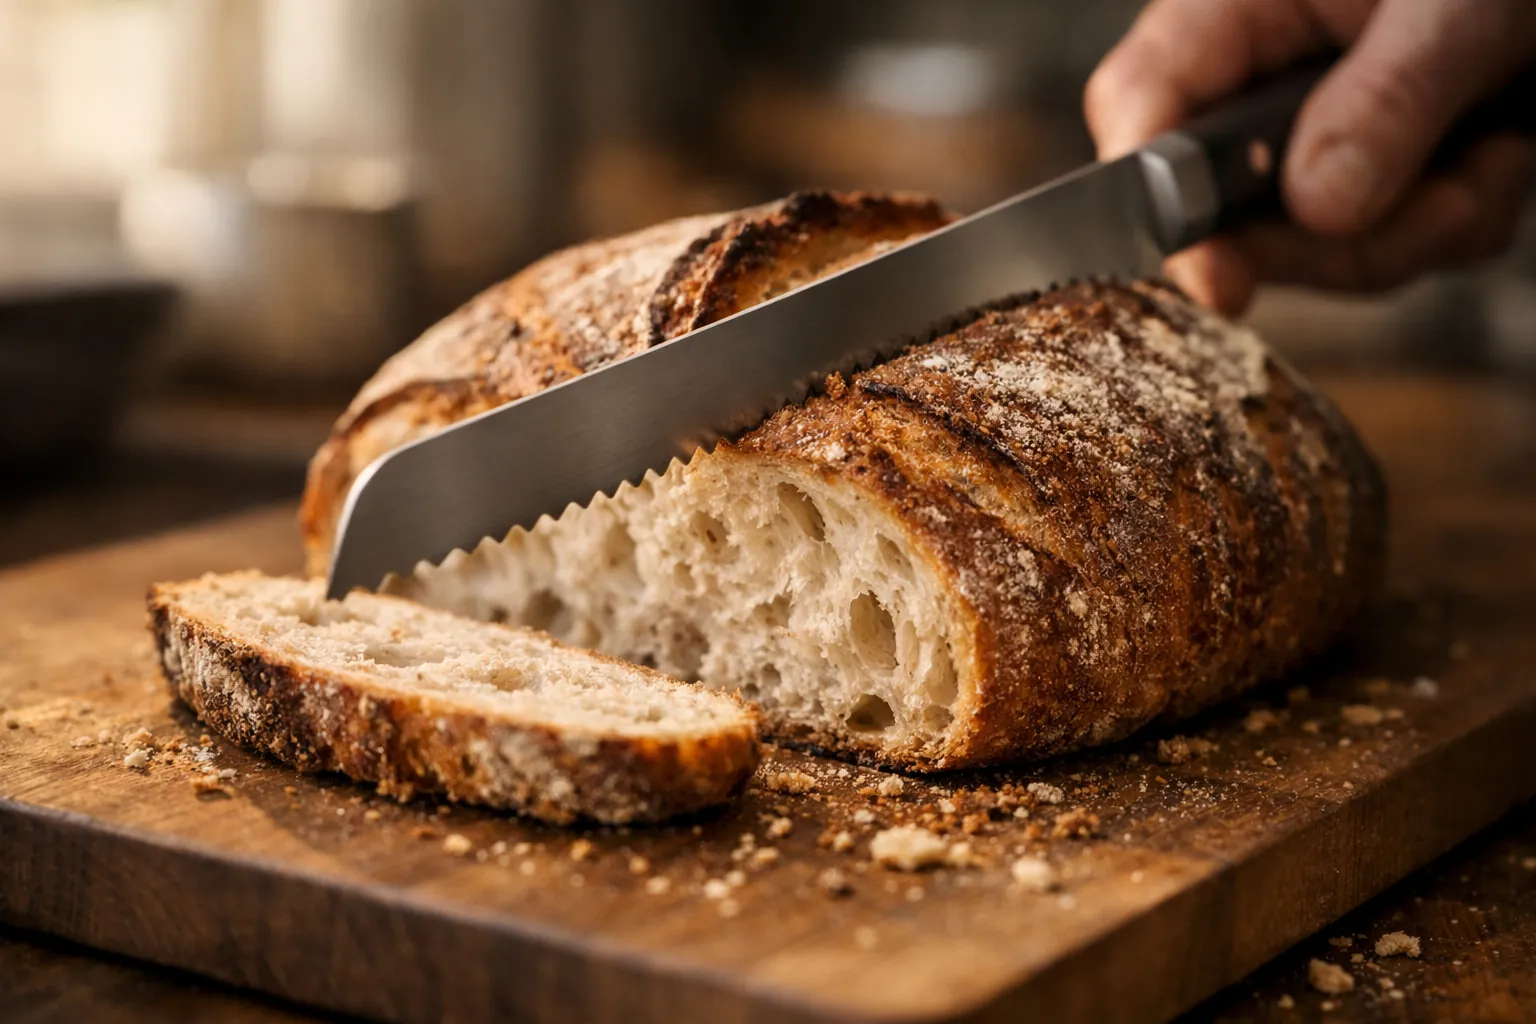
- Sharpening too often. Serrated knives stay useful for a long time; sharpen when they start tearing bread instead of cutting it.
The bottom line
For the best result, use a tapered rod on the beveled side, scallop by scallop, then deburr the flat side. For the easiest result, use a Spyderco Sharpmaker. For straight-edge knives, see our angle chart and best sharpening systems.
Technique reflects standard sharpening practice; product details from Amazon listings checked October 3, 2026. How we research · Affiliate disclosure